MAKING A TWISTED FINIAL
Introduction
This finial uses multiple turning axes to generate the wavy effect. At a small scale, it's a fairly simple introduction to multi-axis work. If done on a large scale, it can make your lathe walk across the floor on its own. Not for the faint of heart. Turning experience and safety gear required.
Woodworking is an inherently dangerous activity. The non-woodworking techniques described here aren't all that safe, either. Sharp tools, powerful motors, big lumps of wood, chemicals, fumes, etc. can cause you serious bodily injury or even death. These pages are NOT meant as a substitute for instruction by a qualified teacher, just as an illustration of how I do certain things. I take no responsibility for any mishaps you may experience during a fit of inspiration. You've been warned.
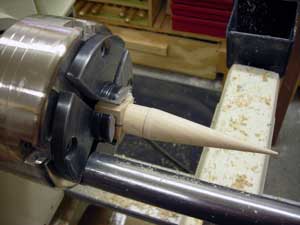
Photo 1
As in the previous article, "Twist and Shout 101: Turning a wavy finial," I'm starting out with a maple blank about 3/4" square by 4" long to end up with a finial about 2 3/4" long with a 1/4" glue tenon.
Also as in the previous article, I've started out by turning the blank to a cone, finish sanding it, labeling the four faces (|, ||, |||, ||||) and marking the point where the glue tenon and finial
base meet.
A word about wood choice: the chuck will be applying a LOT of pressure to the gripped end of the blank. I've found that the woods that work best are neither so soft that they crush in the chuck,
nor so hard that the chuck can't grab a bit when you've mounted the wood off-axis. I like woods like maple, cherry and mahogany. I usually do my turning experiments in poplar,
but have found that that's too soft for this technique and tends to split and crumble in the chuck. As always, your mileage may vary - if you try this technique or one like it and find a wood that works particularly well, please drop me an e-mail about your experience.
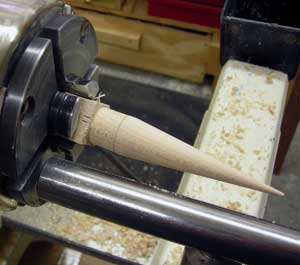
Photo 2
Instead of just moving back and forth, I'm going to turn the corkscrew finial by turning a cove into each of the four faces of the blank in turn. So, my first move is to offset the cone in the direction of the face marked |. As with the wavy finial, I've got the tool rest ste parallel to the gap in the lathe bed and am using it as a reference for the amount of off-axis angle I've got. And, again, I'm going to turn the finial from the point back towards the base, finish sanding as I go, to preserve the strength of the blank.
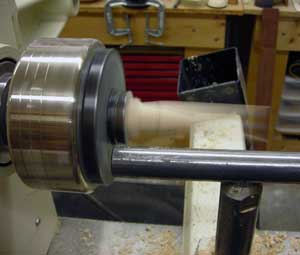
Photo 3
The ghost image of the rotaing, off-axis blank. I'm going to turn the first cove fairly small and fairly close to the point of the cone. Small, nibbling cuts with the tool and stopping the lathe frequently to check my progress are the order of the day.
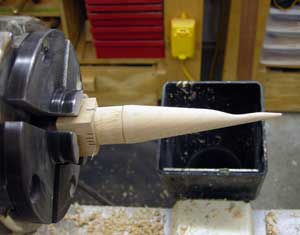
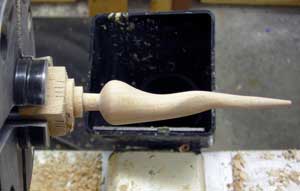
Photo 4
I've turned the first cove and finish sanded it.
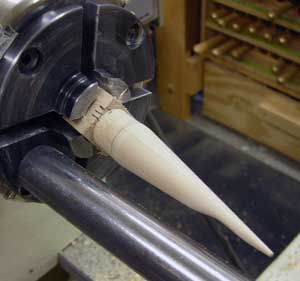
Photo 5
I've aligned the blank for my second cut by shifting the cone in the direction of the face marked || and setting it parallel to the tool rest. The second cove will be a bit further away from the point. Again, small nibbling cuts and stopping the lathe frequently to check my progress are key.
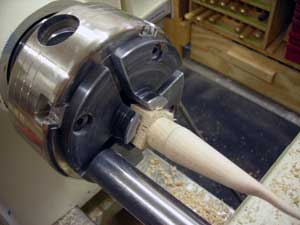
Photo 6
I've finish turned and sanded the second cove, though this picture doesn't show it well, sorry! I'll try to get a better one in the future and replace this one. Now I've got the blank aligned for the third cove by shifting it in the direction of the third face....
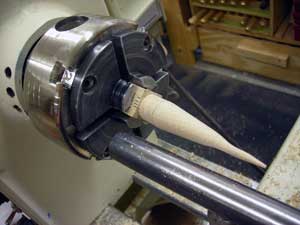
Photo 7
...and, as before, I've aligned the cone so it's parallel to the tool rest, which is parallel to the gap in the lathe bed. I'll turn the third cove just past the second one, further in from the cone's point.
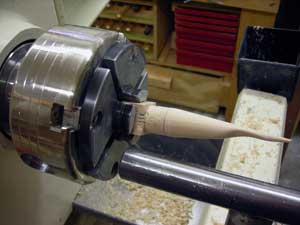
Photo 8
This picture and the next one pictures show the progress so far, after three coves, looking at different sides of the blank.
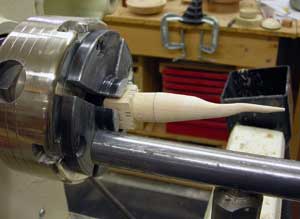
Photo 9
Another view, showing the twist.
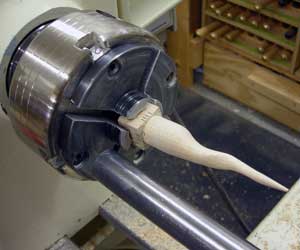
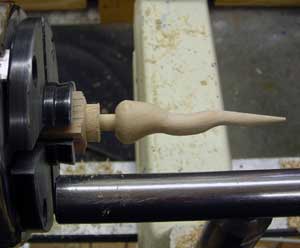
Photo 10
After the fourth cove has been turned. I shifted the blank in the direction of the face labeled |||| and aligned the cone so it was parallel to the tool rest, then turned the fourth cove just down the cone from the third cove and finish sanded.
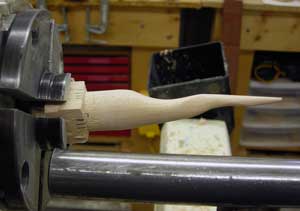
Photo 11
Another view of the finial after turning and sanding the fourth cove.
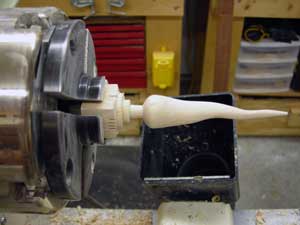
Photo 12
After turning the bead and glue tenon.
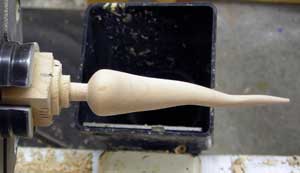
Photo 13
The finished finial, viewed from each of the four faces of the blank.
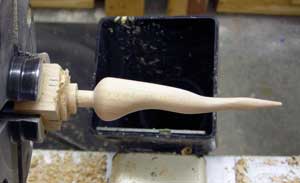
Photo 14
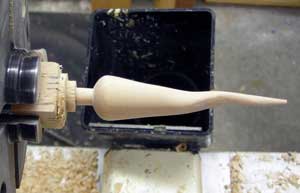
Photo 15